“The soil here is terrible.”
This is something we hear a lot during design discussions. People often assume that soils in heavily developed environments can’t possibly be biologically sound for plant life. In some cases, this is true. But in others it isn’t, and the only way to know for sure is to do a soil analysis.
A soil analysis examines the soil within and below a root zone. A single shovel-full of soil will reveal information about the soil’s properties: texture (sand, silt, clay, gravel), pH, organic matter, density, structure, and biology. There are various layers of soil; together they comprise the soil profile, and the interrelationship of these layers is also an important feature. If any one of these properties is degraded, plant performance will be affected. And if many of them degrade, serious plant decline or failure can result.
We recommend soil testing as an initial step in evaluating almost any site. Analysis and understanding of all the properties throughout the entire soil profile is also important, but for the purposes of this post we will focus on the testing of four soil properties within a single layer: texture, chemistry, pH, and organic matter. A good overview of the basic properties of soil and how to undertake an urban soil analysis is found in Part 1 of Up By Roots: Healthy Soils and Trees in the Built Environment.
Soil analysis and testing should be done early in the design process. It’s not hard to do, and if the testing results indicate that the native soil is in good shape, you could end up saving a lot of money. Here is what to do.
Tools you’ll need:
Soil auger, trowel, or shovel
Plastic bucket(s)
Plastic bag(s) [quart sized] with zippered top
To take a sample:
1) Take all three tools listed above to your site. Compaction is one of the most frequent problems you will encounter in an urban setting, so you’ll want serious digging tools.
2) Think about where to test. You will want representative samples from across the site. Start by looking at the ground cover and how it changes color, or how plant health varies across the site. Different plan response will often be the result of different soil conditions. In each different area of plant growth, soil color, or soil density, take about three to five samples of similar soil. Segregate each color in to separate buckets if necessary.
A good rule of thumb is to take one to two samples per 100 square feet for a smaller area where you suspect there are significant differences in the soil. For a larger area, particularly one that has not been subjected to significant soil disturbance, one to two samples every 3,000 to 5,000 square feet is sufficient.
3) If there is any ground cover, such as turf, thatch, or mulch, remove it before taking a sample. Then, use your soil probe, shovel, or trowel to extract the samples. The digging process itself will reveal information on soil density (compaction), structure, and profile. If the soil changes color while you are digging, stop and use only a single color sample. If the upper soil layer changed color within a few inches of depth, however, you should take a sample of the next layer down.
Once the sample is extracted you’ll want to fill in the holes (we don’t want people injuring themselves accidentally!). In a lawn area, use the digging tool to push loose soil back in the hole. If the lawn needs to be restored to a completely smooth surface, you may need to fill in holes using soil from a nearby planting bed, or with sand you bring with you. If you dug through sod, and were careful, you may be able to put the sod plug back in place by pressing on it with your foot. In a planting bed, simply push the sides of the hole into the space and pull the previously removed mulch cover over the hole. Remember, these holes should be small and with minimal impact.
4) Gather all your samples from the area with the same color and place them in the bucket. Break up the biggest peds (clods of dirt), and remove large roots, anthropogenic materials, and rocks. Then mix the samples together. This is essential for successful soil testing as it averages out minor differences in the soil.
5) Fill your sample bag(s) with the mixed soil and zip it closed.
6) Send your sealed bag of soil off for analysis! Results should be back to you within a couple of weeks.
Soil labs typically test for four properties of soil: texture, chemistry (phosphorous, potassium, iron, sulfates, certain micronutrients, soluble salts), pH, and organic matter. Testing for heavy metals is an additional service. Standard soil tests will not reveal pesticides, toxic compounds, microbial activity, water requirements, compaction, or soil structure.
Labs will need to know what plants will be used on site, and may have other requirements as well. Make sure to follow the particular instructions of your lab of choice. There are commercial soil testing labs and state extension testing labs to use throughout the United States, Canada, and the United Kingdom. According to Up By Roots, commercial labs are usually slightly more expensive than state extension ones, but more responsive to project schedules and special requests.
Here are some of the labs we recommend:
United States
Turf Diagnostics
1858 Pleasantville Road, #168
Briarcliff Manor, NY 10510
(914) 762-2645
CLC Labs
325 Venture Drive
Westerville, OH 43081
(614) 888-1663
A&L Labs
1311 Woodland Ave
Modesto, CA 95351
(209) 529-4080
Canada
Pacific Soils
5 – 11720 Voyageur Way
Richmond, BC V6X 3G9
(604) 273-8226
University of Guelph Lab Services
95 Stone Road West
Guelph, Ontario N1H 8J7
(519) 767-6299
United Kingdom
Tim O’Hare Associates
Howbery Park
Wallingford
Oxfordshire OX10 8BA
+44 (0)1491 822653
Maybe soil analysis seems like an unnecessary hassle, but trying to amend existing soils or removing and replacing the soil entirely are even more difficult. In short, keeping native soils on site where possible is good for both plants and for budgets.
I consulted James Urban, FASLA, and the CO-Horts article “Soil Testing: It’s a Good Thing” when writing this post.
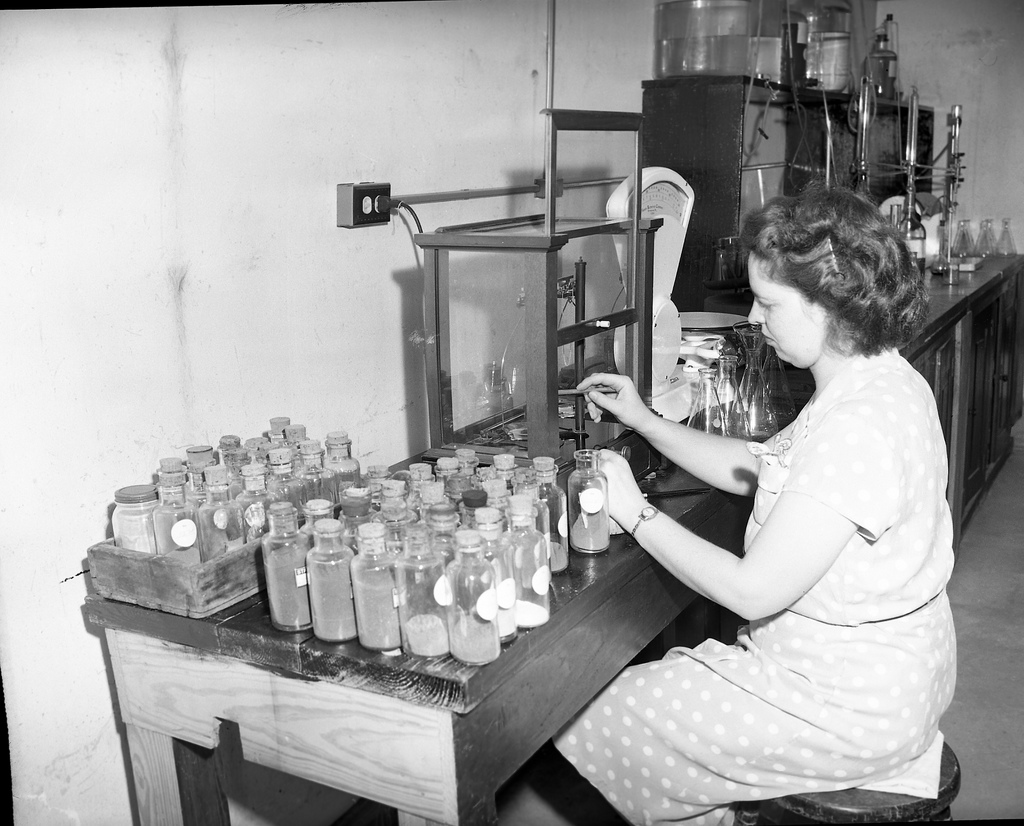
Top image Flickr credit: Soil testing in 1946 courtesy of Cushing Memorial Library and Archives, Texas A&M University.


We like this piece on soil sampling! We also perform soil testing and run Soil Health analysis here at Woods End. You can also visit our Solvita website for a map of labs across the country (US) that perform soil & compost testing using the Solvita method. http://solvita.com/soil/map
Hi, Very nicely explained. also before testing soil there are methods to collect soil samples which are most important steps in Soil analysis which cant be ignored.
We have created a blog on how to collect Soil sample have a look at it.
http://www.ppsthane.com/services/environmental-quality-monitoring/soil-analysis/
Keep up the good work.