
Today’s post from monthly guest author Ellyn Shea is about a truly important, but often overlooked, issue: protecting existing trees during construction. I’m a sucker for success stories, and this is a great one. -LM
Every time we lose a mature tree, we lose those benefits. A young replacement tree takes up to 30 years to provide the same benefits. Preserving mature trees during takes effort, but it’s worth it. Here’s a success story from Palo Alto, California.
This property had 4 notable trees: a London Plane (Platanus x hispanica) street tree, 2 coast redwoods (Sequoia sempervirens) and a lovely spreading Coast live oak (Quercus agrifolia) in back. This was a small lot for so many trees. The development plans called for maximizing the lot with a new house, pool and driveway, as well as a poolhouse at the base of the oak tree. All the trees are still thriving, and here’s why:
1. Tree protection was part of the planning stage. The City of Palo Alto requires an arborist’s plan review and tree protection plan before permit approval. Tree-friendly design changes can be proposed at this stage.
2. All parties agreed to preserve the trees. The owner, architect, contractor and all the subcontractors abided by Palo Alto’s tree regulations, available free for all to refer to and borrow from when drafting your own regulations or specifications.
3. The arborist remained involved throughout the project. Palo Alto requires monthly site visits and arborist reports. Additionally, the arborist is present whenever work went on in the tree protection zone. Tree-friendly building can be properly enacted under arborist supervision.
Here are some of the specific tree preservation techniques we used:
1. Establish a tree protection zone (TPZ). This is an area around the tree usually with a radius equal to 12 times the trunk diameter. (To get trunk diameter, measure circumference and divide by 3.14 or use a special diameter tape. See this video for more.)
If possible, fence off the entire TPZ and do not enter for the whole project. Inside the TPZ, no driving, no equipment, no storage or staging. We needed the space, so we installed a root buffer instead of fencing off the TPZ.
The root buffer was about 6 inches of wood chips topped with 4 inches of gravel and a layer of 3/4″ plywood. Driving, parking and storing can all take place on the root buffer without compacting soil. Existing pavement also works.
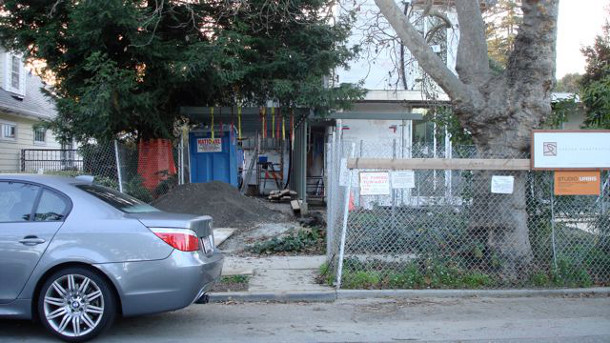
A root buffer preserves soil, allows for storage - and toilets - in tight spaces.
2. Alternative paving inside the TPZ: Usually, soil under pavement is scraped away, then put back in layers and compacted so there is no oxygen left in the soil. Gravel, or base rock, goes on top of the compacted soil. Finally, the pavement. In the TPZ, soil was left undisturbed. For the driveway, we used a Tensar® geotextile fabric on top of the soil. This stabilized the base rock and pavement so no compaction was needed.
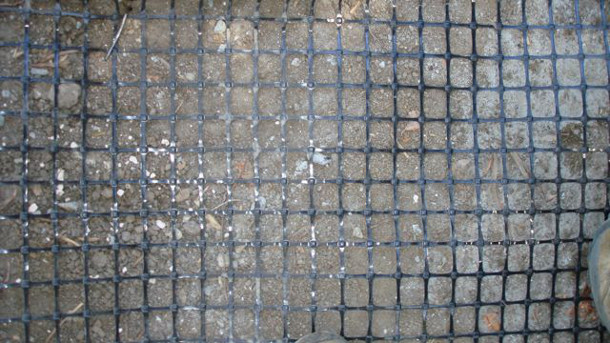
Tensar® geotextile fabric on undisturbed soil.
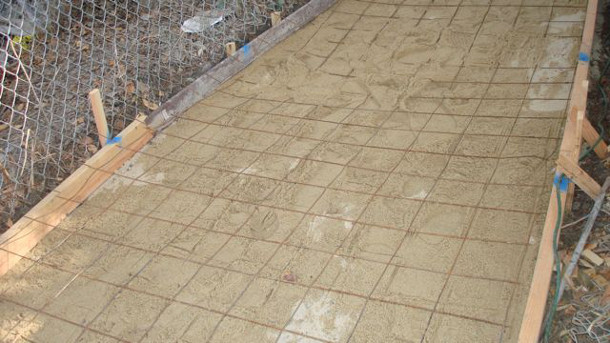
For the sidewalk, soil was already compacted, but surface roots were preserved. Sand surrounded and covered the roots instead of base rock. Metal mesh was embedded in the concrete to allow it to resist buckling with root growth.
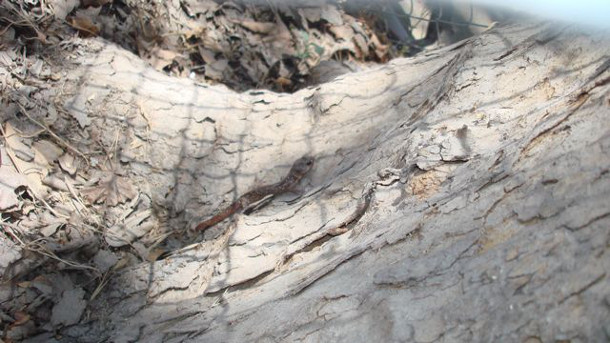
We rescued this Pacific Coast Salamander from the jackhammer. It had been living in a hollow root under the old sidewalk.
3. Building on existing footprint: There had been a shed right next to the Coast Live Oak, and the poolhouse went on the same footprint, so no roots were cut.
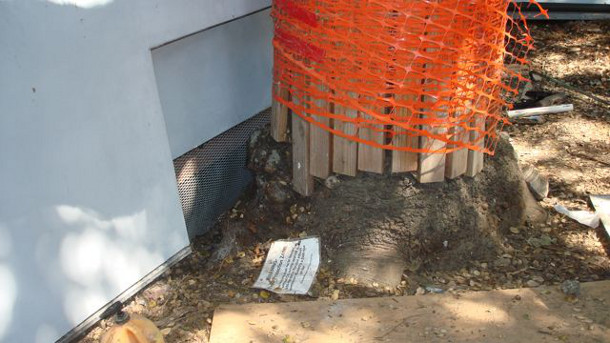
Poolhouse with hole cut in foundation to accommodate trunk.
It took some effort, but this house now has its own built-in forest. All the benefits – no waiting. Now that’s green building!
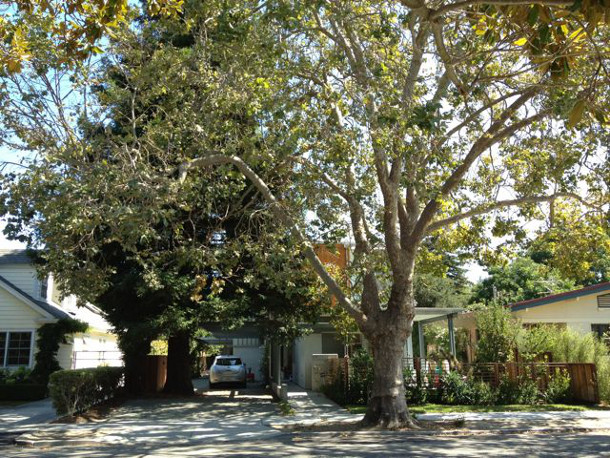
A built-in forest - the best.



Leave Your Comment